
Creatio is a CRM system for optimizing and accelerating sales, marketing, service and operational processes of an organization. Within the CRM, there is provision for connecting separate applications for integration with third-party services.
Main integration capabilities with Creatio:
Creating a deal / lead / contact / organization / order after a call;
Creating tasks after a call;
Creating a call entity and the ability to see their history;
Creating tasks for the responsible/top manager;
Integration with Ringostat Smart Phone;
Smart redirection;
Ability to work with integration with your forms on the website.
Activation of integration
Activation of integration
1. To connect the integration, go to the Ringostat personal account, the App Marketplace section, and select Creatio

Now you need to fill in the following fields:

2. Log into your Creatio account (it is mandatory to make these settings from an account with administrator rights), go to settings, section "oAuth 2.0 integrated applications"

Then click the button "New" - "Server-to-server (client credentials)"


In the settings, specify:
Name - any name
Application url - any url, for example from webhooks site
Description - can be left blank
After clicking Save, the application will be created. If you open it, there will be Client Id and Client secret:

Copy these values and paste them into the integration settings in the Ringostat personal account.
3. Then return to the Creatio settings. Go to the "System settings" section

There you need to go to the "oauth 2.0" folder and open the "Authorization server Url for OAuth 2.0 integrations" settings.

Copy the value of the Default value field - this url is needed for authorization

Paste the copied url into the integration settings in the Ringostat personal account. Then fill in the Creatio account address field.
It is desirable to set the project language in Creatio to the same as in the account profile from which you are connecting the integration.
When all fields are filled, click Activate integration

If no errors are received, the integration is successfully connected!
Integration setup
Integration setup
After activating the integration with Creatio, you need to configure it
Link employees
At the beginning of the integration setup, you need to create employees in the Ringostat personal account and in the CRM itself. How to create employees in Ringostat is described in detail in this article.
Creating employees is necessary to transfer data to the CRM on incoming and outgoing calls from employees, creating deals, contacts, tasks, organizations, orders and to transfer audio on calls from employees.
Next, link employees in the integration and assign a top manager among them.

A Top manager is a manager to whom:
all new leads/deals/tasks will be assigned if the creation of leads/deals before the call is configured. The top integration manager will be set as responsible in such a setting for the possibility of further distribution of the lead/deal/task among employees;
all new leads/deals/tasks will be assigned for missed calls. This employee will be set as responsible in such a setting for the possibility of further distribution of the lead/deal/task for a missed call to employees;
tasks will be assigned if the call is received on a number/sip account that is not assigned to any of the project employees.
Also, in the integration settings, it's possible to assign additional responsible managers. In addition to the default Senior Manager, you can create rules by which the responsible person will be assigned automatically, depending on conditions:Call status (for example: missed, busy, voicemail)
Number that was called
Landing page (URL) — can be specified fully or partially (works by match)
Call forwarding scheme name

How the logic works:1. If a responsible manager is known for a call or request (and is linked in the integration) — the entity is created for them.
2. If the manager is unknown or not assigned:the system checks rules by conditions
if the call or request matches a rule — the manager from this rule is assigned
if no rule matches — the default Senior Manager is assigned
Please noteRules are applied: for incoming calls; for requests from website forms.
For outgoing calls, the logic does not change If multiple rules are created — they work by priority (top to bottom)
If no rule matches — the default manager is used
This helps more flexibly distribute responsibility for calls among different managers and/or separate calls of a specific manager/department from general project calls
Transmission of additional information
Default parameters
Here are the parameters that are automatically transmitted to Creatio fields when the integration is enabled.

Parameters for deal / contact / lead / organization / order
In these tabs, you can configure the Ringostat Information ⟶ Creatio Field links, to which the selected parameter should be transmitted.
The fields you can choose are custom fields that you created in your Creatio account. Note that the custom field type must be "String/String". You cannot select two identical Creatio fields to transmit two different parameters from Ringostat.
Example setup:

Transferring deals to selected funnels
You can set up the creation of deals in the funnel you need according to a certain rule.
To do this, you need to:
1. Expand the block with the setting for transferring deals to selected funnels and add a new rule:

2. Select the desired funnel from your CRM (1).
3. In field (2), select the desired Ringostat parameter from the drop-down list, by which you want to link the creation of deals in the selected funnel.
4. And in field (3), specify the parameter value by which it is necessary to determine that the deal will be created in the specified funnel.

After you have secured employees and added the necessary parameters, set up the integration matrix.
All specified entities in the CRM system will be created based on the matrix.
By default, the matrix is already configured as follows:

Integration operation logic
Integration operation logic
Let's consider the integration operation logic with the standard matrix that appears by default when connecting the integration.
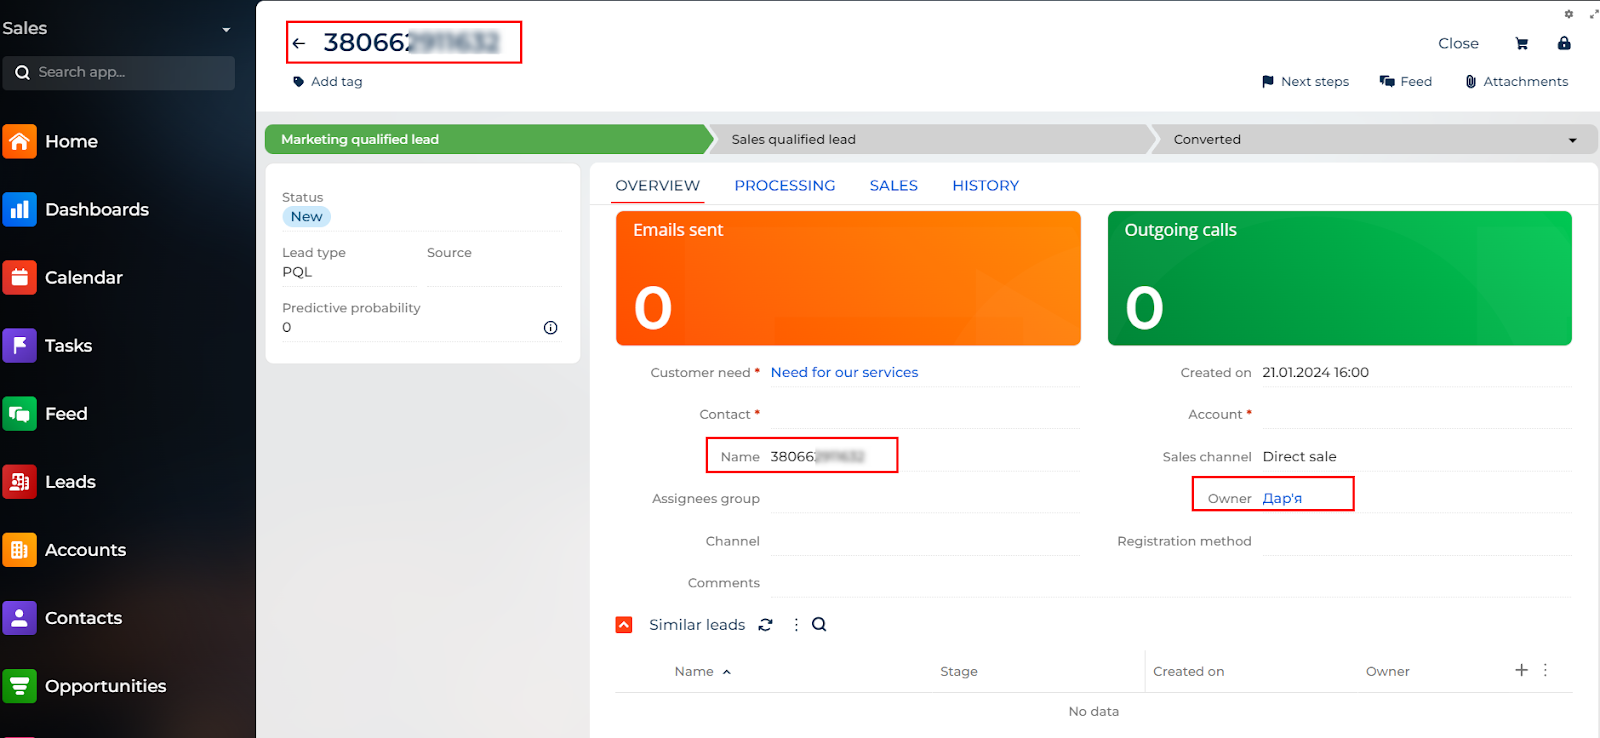
Answered incoming call from a new client
1. A lead will be created for the manager who took the call
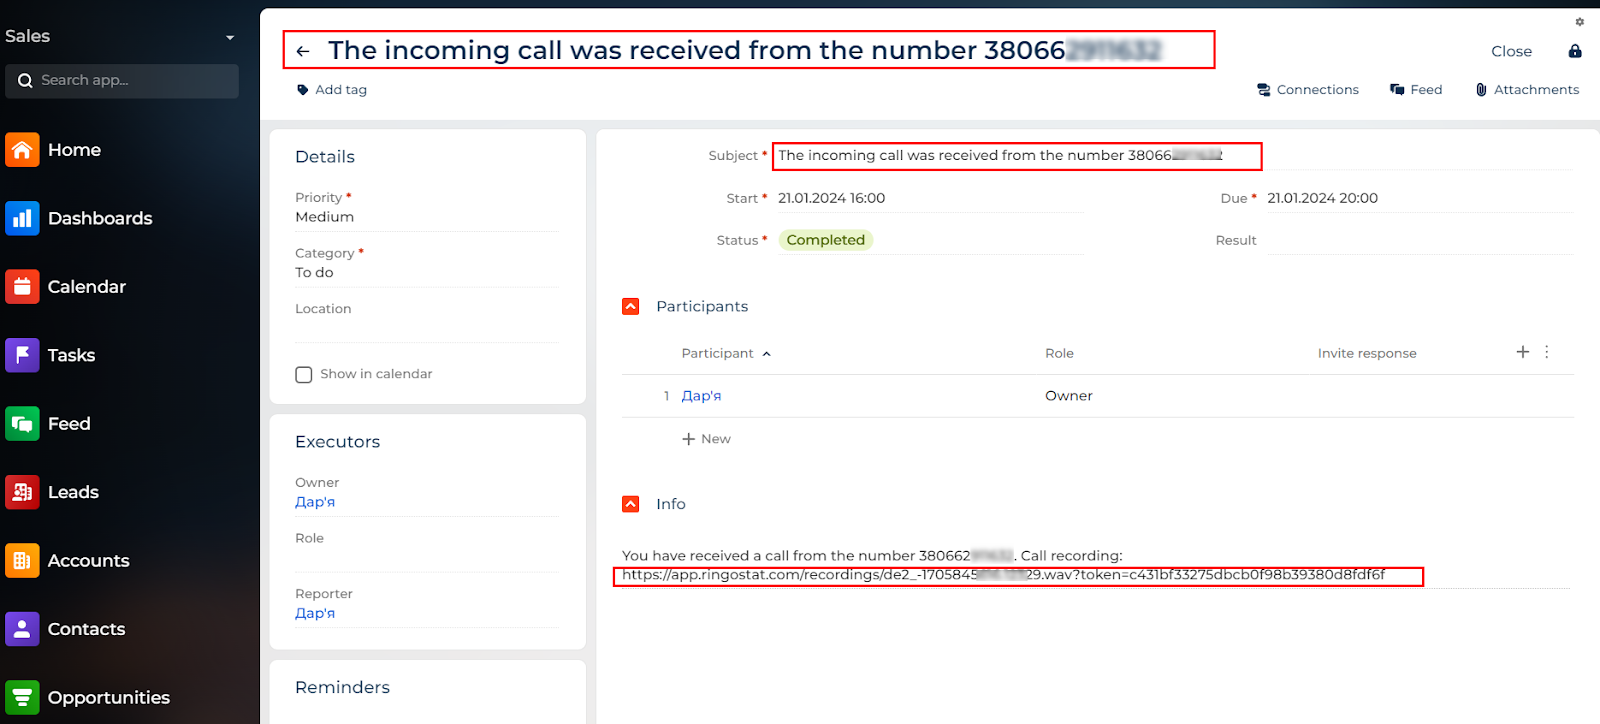
2. A task will be created for the manager who took the call with a link to the conversation recording
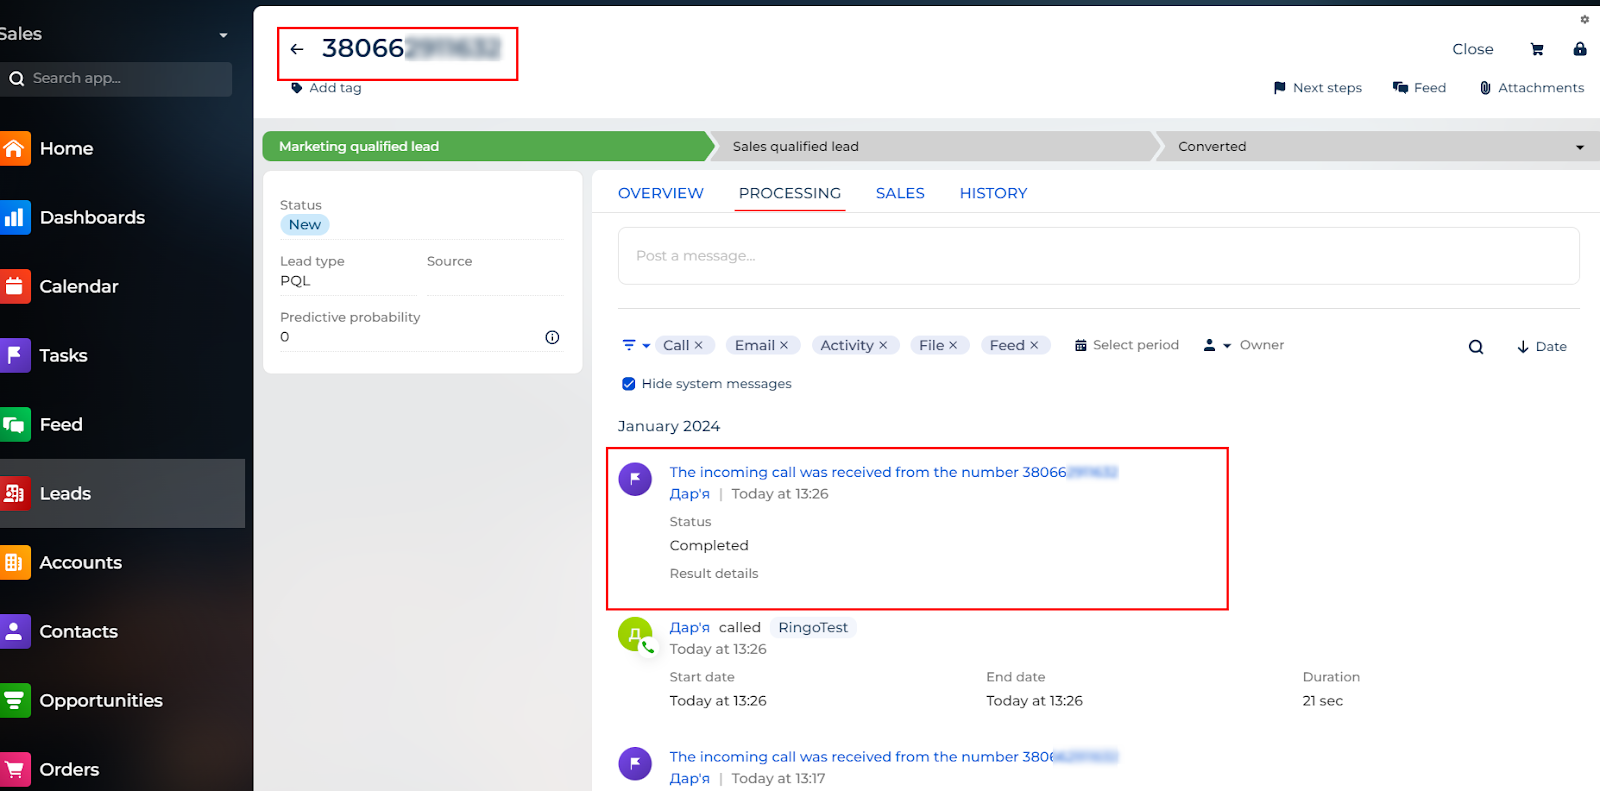
Repeated incoming call, answered by responsible/non-responsible manager from the current client
A task will be created in the lead with a link to the conversation recording for the responsible manager
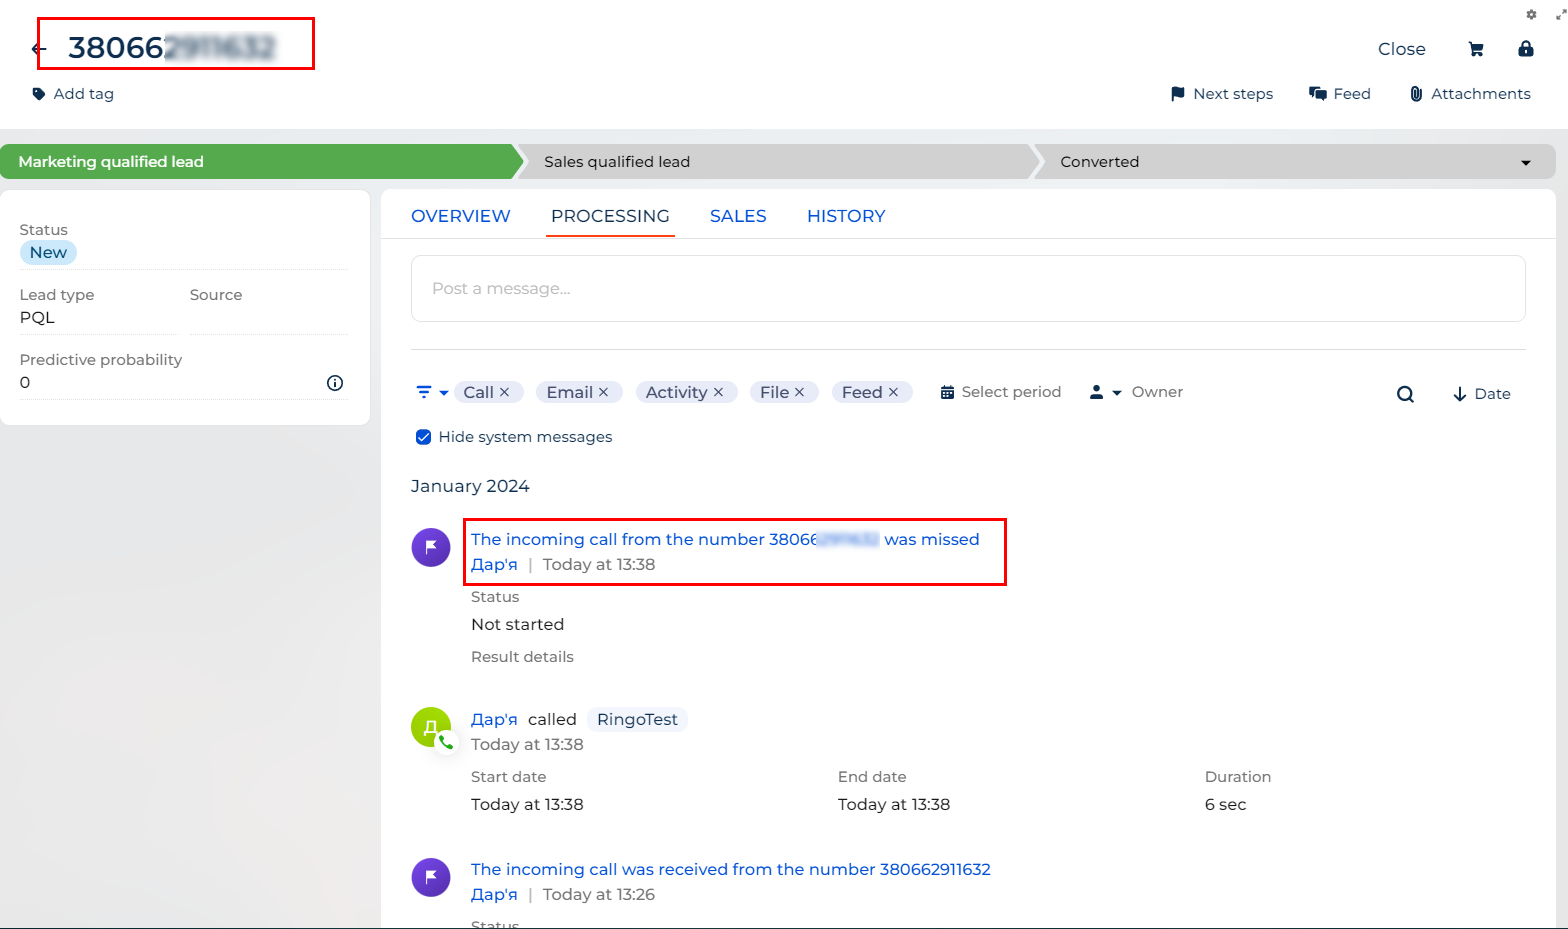
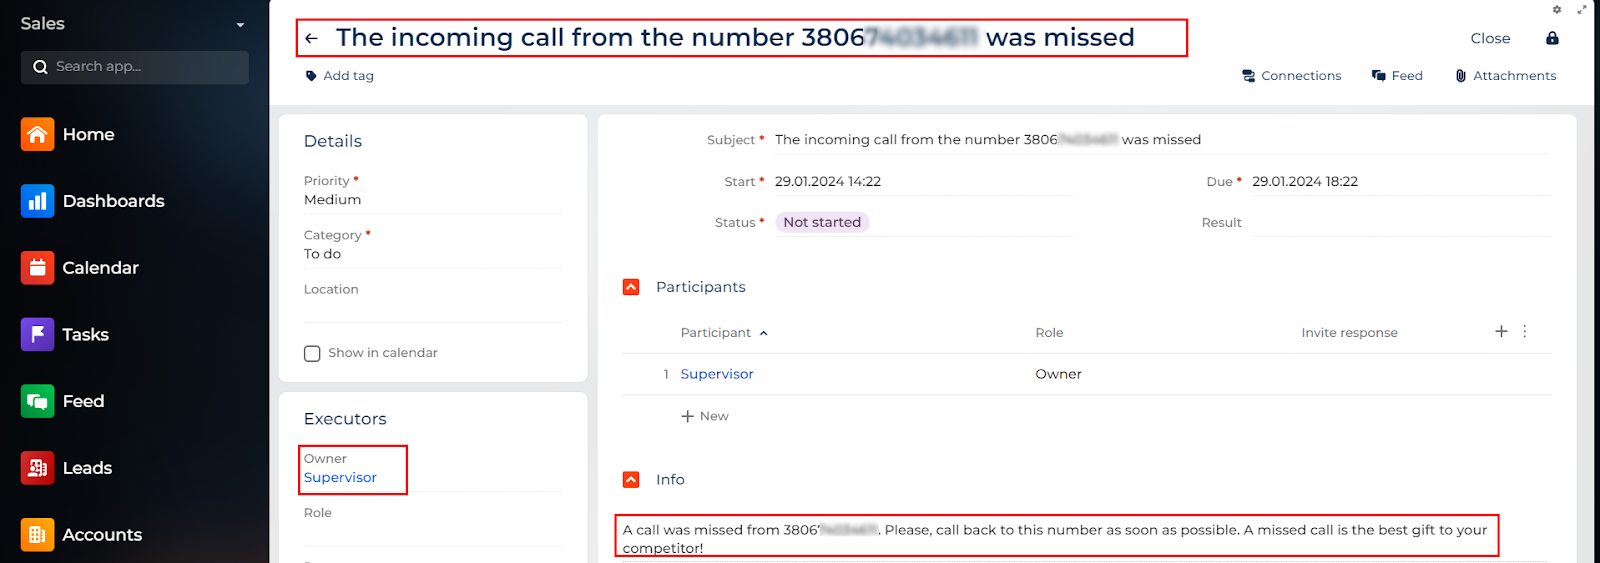
Incoming missed call from a current client
A task about the missed call will be created in the lead for the responsible manager
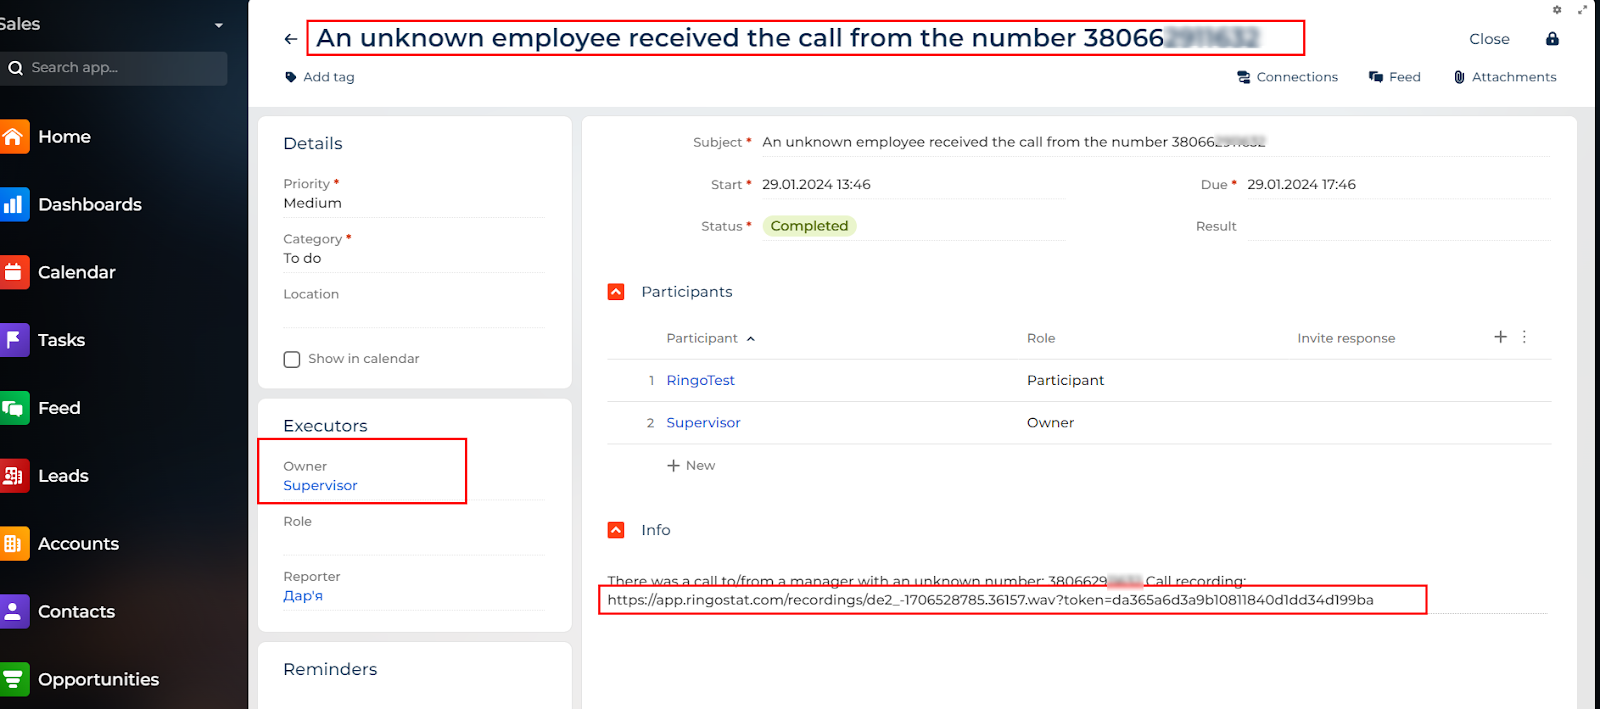
Incoming call answered by an unknown manager
A task will be created for the top integration manager with a link to the conversation recording so that he can check the integration setup for the unknown manager
Incoming missed call from a new client
1. A lead will be created for the top manager
2. A task will be created for the top manager for further distribution and processing of the call
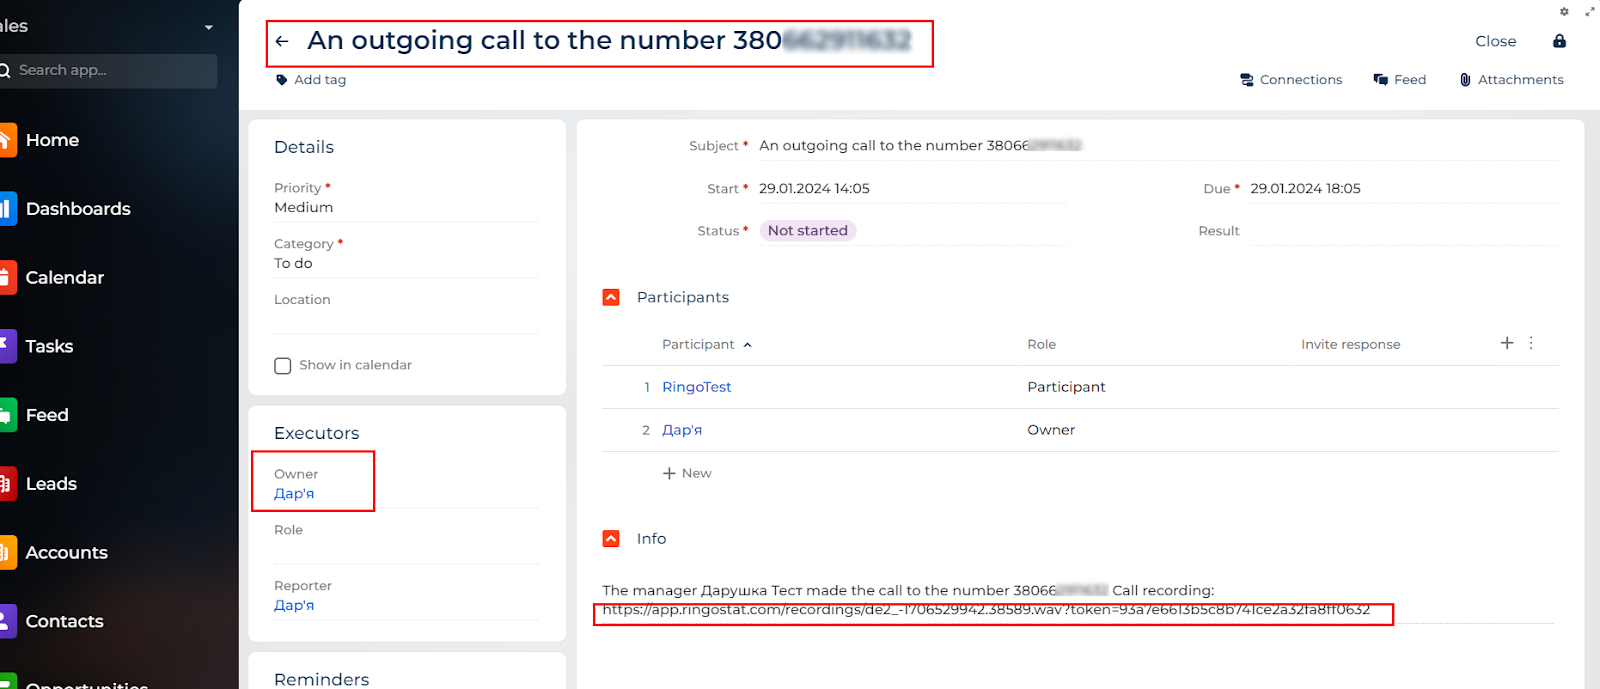
Outgoing answered call from the responsible manager:
A task will be created in the lead with a link to the conversation recording for the responsible manager
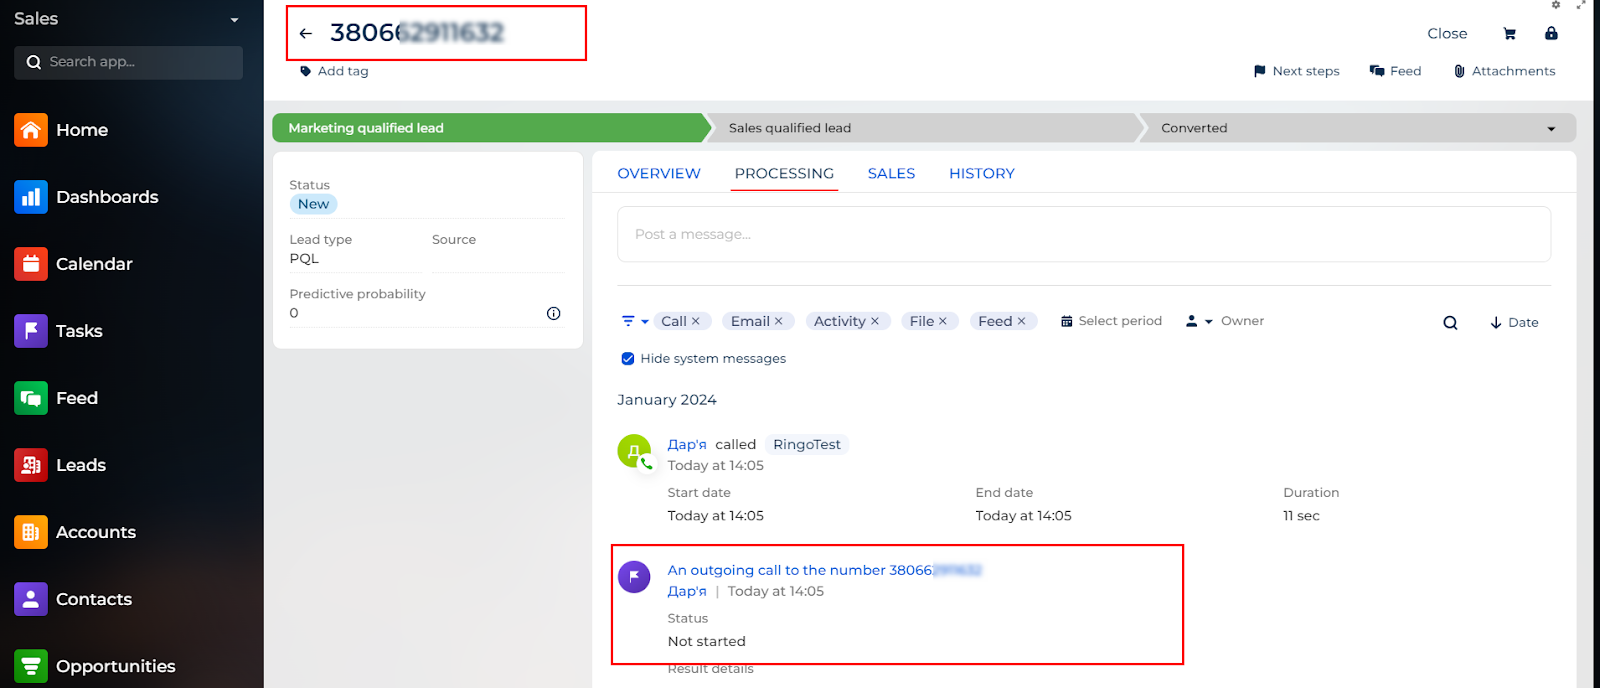
You can also see all calls in the Lead itself in the History -> Calls section
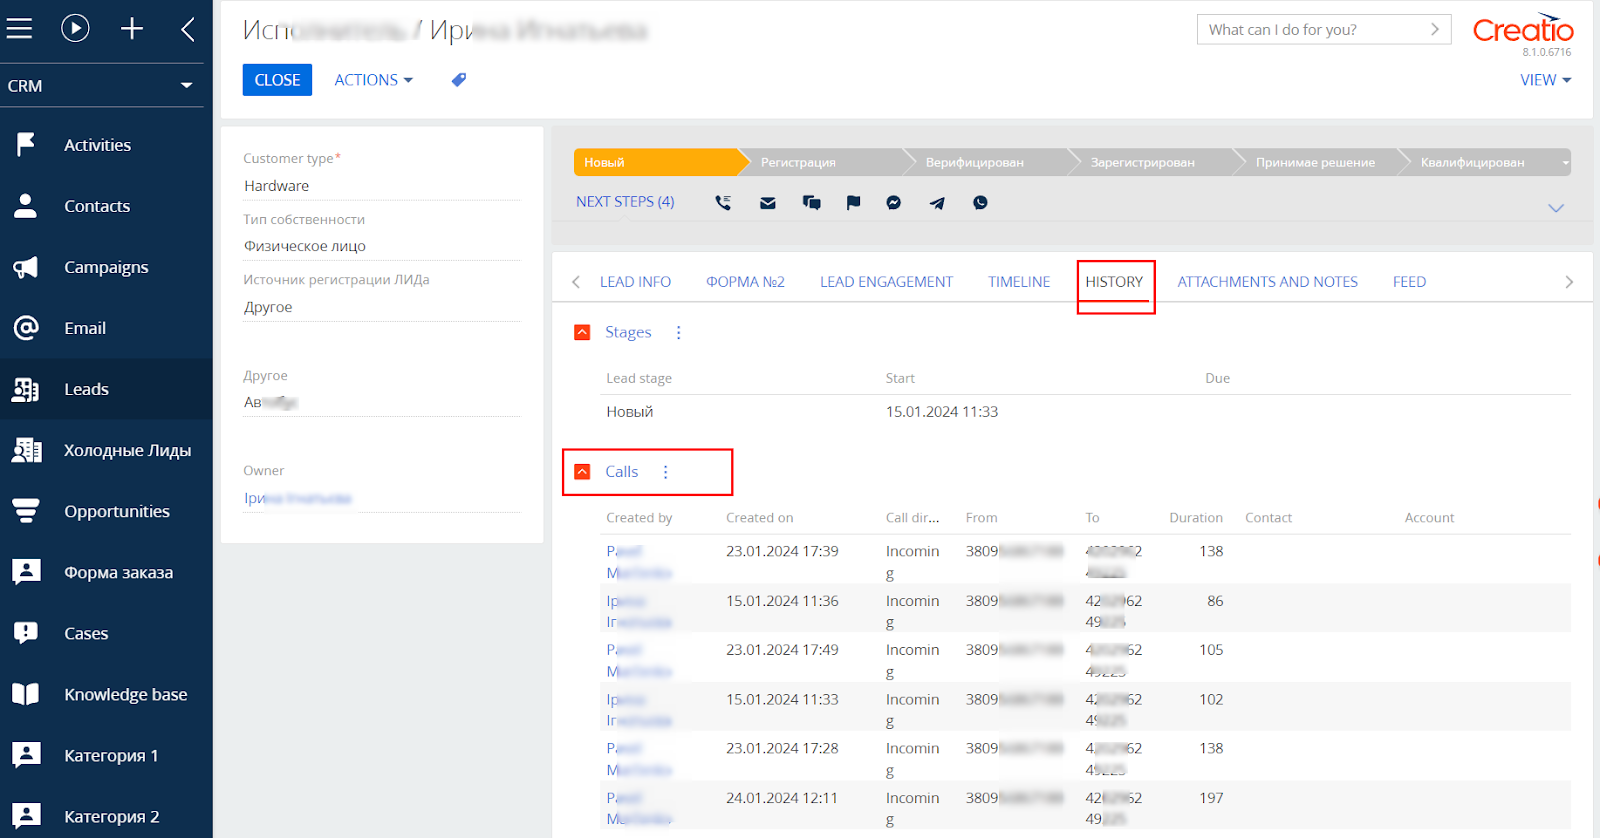
We search for the contact and lead by the caller's number in full format: 380671234567. If in a lead or contact created by another integration, the number is written in a different format, we will create a duplicate lead and/or contact.